How to Configure Nginx as a Reverse Proxy
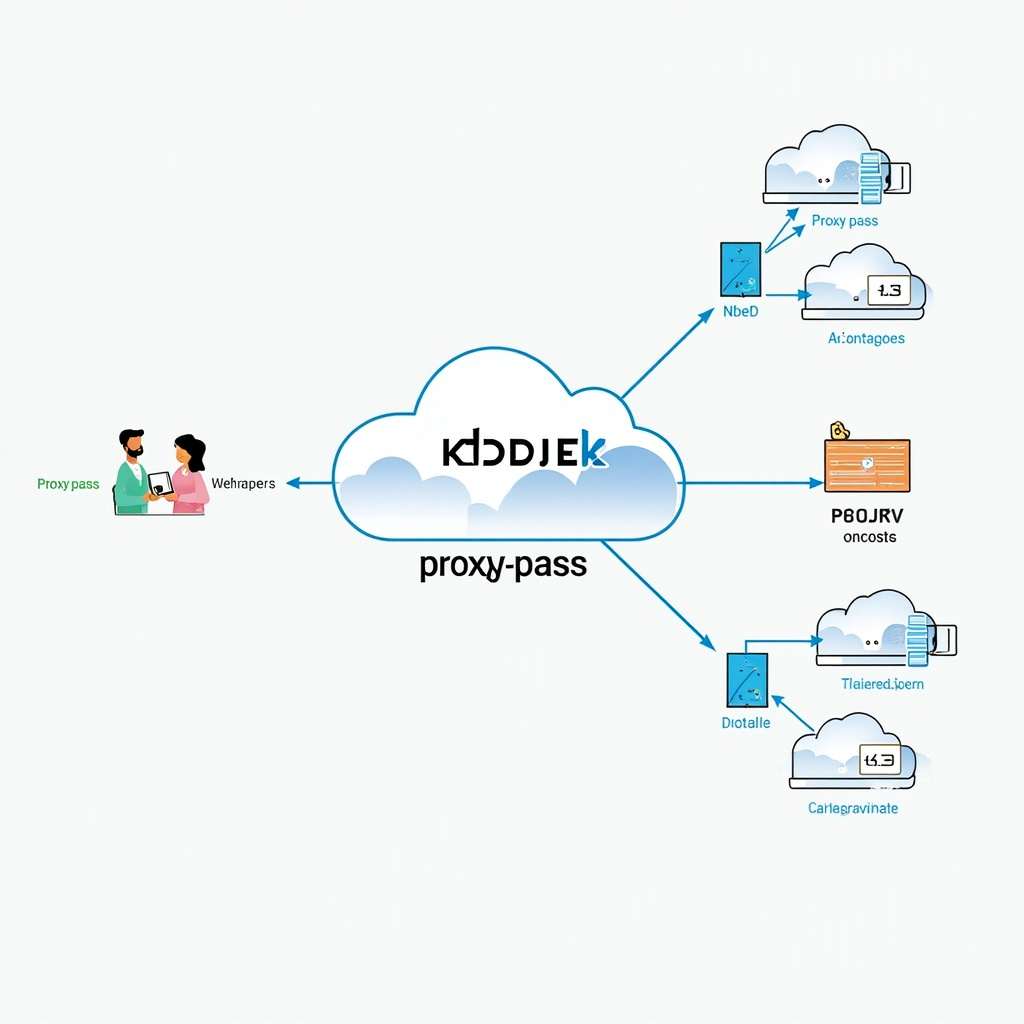
When you need to route incoming web traffic to multiple backend services, hide your internal server architecture, or handle SSL certificates from a central point, Nginx reverse proxy configuration is one of the most practical solutions available. A reverse proxy sits between clients and your application servers, forwarding each request to the appropriate backend and returning the server's response to the original client.
Unlike a forward proxy, which represents clients to the internet, a reverse proxy represents your backend servers to the outside world. This arrangement lets you load balance across multiple application instances, terminate SSL connections at a single point, cache static content, and keep your internal infrastructure hidden from public view.
This guide walks through the core configuration directives, practical examples for common setups, and the considerations that matter when deploying reverse proxy configuration in production environments. Whether you are setting up a simple routing rule or planning a multi-service architecture, the examples here provide a foundation you can adapt to your specific needs.
Understanding the Basic Reverse Proxy Directive
The primary directive for reverse proxying in Nginx is proxy_pass. This tells Nginx where to forward incoming requests. When you set proxy_pass to a backend address, Nginx acts as an intermediary, accepting the client request and passing it along to your application server.
A simple reverse proxy configuration routes all traffic from port 80 to a backend running on an internal port:
server {
    listen 80;
    server_name example.com;

    location / {
        proxy_pass http://127.0.0.1:3000;
        proxy_set_header Host $host;
        proxy_set_header X-Real-IP $remote_addr;
        proxy_set_header X-Forwarded-For $proxy_add_x_forwarded_for;
        proxy_set_header X-Forwarded-Proto $scheme;
    }
}
This configuration receives requests on port 80 and forwards them to a backend service running locally on port 3000. The proxy_set_header directives are essential because they pass important request information to the backend, allowing your application to understand who the original client is.
Without the X-Forwarded-For header, your backend sees all requests originating from the Nginx server's IP address. With this header set correctly, the backend receives the real client IP address, which matters for logging, security monitoring, and any application logic that depends on knowing where requests truly come from.
Note: The
X-Forwarded-Protoheader tells your backend whether the original request arrived over HTTP or HTTPS. This is important for applications that generate absolute URLs, such as those used in email notifications or API redirects.
Routing Requests to Different Backend Services
You can proxy to different backends based on URL path by using separate location blocks. This is useful when you run multiple services on the same server, such as a main application, an API, and an admin panel.
server {
    listen 80;
    server_name example.com;

    # Route the main application to Node.js
    location / {
        proxy_pass http://127.0.0.1:3000;
        include proxy_params;
    }

    # Route API requests to PHP-FPM
    location /api/ {
        proxy_pass http://127.0.0.1:9000;
        include proxy_params;
    }

    # Route admin panel to a separate service with IP restriction
    location /admin/ {
        proxy_pass http://127.0.0.1:8080;
        include proxy_params;
        allow 192.168.1.0/24;
        deny all;
    }
}
The admin panel example demonstrates access control at the proxy layer. By restricting access to a specific subnet, you prevent public users from reaching internal administration interfaces. This approach adds a layer of protection without requiring changes to your application code.
Reusing Proxy Headers Across Configurations
If you manage multiple backend services, extracting common proxy headers into a separate file reduces repetition and ensures consistency. Create a file at /etc/nginx/proxy_params with your standard headers:
# /etc/nginx/proxy_params
proxy_set_header Host $host;
proxy_set_header X-Real-IP $remote_addr;
proxy_set_header X-Forwarded-For $proxy_add_x_forwarded_for;
proxy_set_header X-Forwarded-Proto $scheme;
proxy_set_header X-Forwarded-Host $host;
proxy_set_header X-Forwarded-Port $server_port;
proxy_buffering off;
proxy_request_buffering off;
Reference this file with include proxy_params; in each location block. This approach simplifies maintenance and reduces the chance of missing headers when you add new backend services. When you need to update a header or add a new one, you change it in one place rather than across multiple configuration blocks.
SSL Termination at the Reverse Proxy Layer
The reverse proxy is the ideal place to handle SSL termination. Instead of configuring certificates on every backend service, you manage them centrally at Nginx and communicate with backends over plain HTTP on your internal network. This simplifies backend configuration significantly and makes certificate management more straightforward.
If you are looking for a practical walkthrough of setting up this configuration with Let's Encrypt certificates on Ubuntu, there is a detailed guide on configuring a reverse proxy with SSL on Ubuntu that covers the full setup step by step.
server {
    listen 443 ssl http2;
    server_name example.com;

    ssl_certificate /etc/letsencrypt/live/example.com/fullchain.pem;
    ssl_certificate_key /etc/letsencrypt/live/example.com/privkey.pem;
    ssl_protocols TLSv1.2 TLSv1.3;
    ssl_ciphers ECDHE-ECDSA-AES128-GCM-SHA256:ECDHE-RSA-AES128-GCM-SHA256;
    ssl_prefer_server_ciphers off;

    location / {
        proxy_pass http://127.0.0.1:3000;
        include proxy_params;
    }
}

# Redirect all HTTP traffic to HTTPS
server {
    listen 80;
    server_name example.com;
    return 301 https://$server_name$request_uri;
}
With this configuration, the backend application receives plain HTTP requests from Nginx over your internal network. The backend does not need to know about SSL configuration at all. However, for applications that need to generate HTTPS links in email notifications, API responses, or redirects, setting the X-Forwarded-Proto header ensures the application knows the original protocol used by the client.
Security consideration: Using TLS 1.2 and TLS 1.3 with a carefully selected cipher suite helps ensure secure communication. Keep your certificates up to date and monitor for any deprecation warnings from your certificate authority.
Load Balancing Across Multiple Backend Servers
Nginx can distribute requests across multiple backend servers using its upstream module. This provides redundancy and allows you to scale horizontally by adding more application instances. Understanding the different load balancing methods available helps you choose the right approach for your application.
For a deeper look at how load balancing works in Nginx and which method suits different use cases, the article on Nginx load balancing explained covers the concepts in detail.
upstream app_servers {
    least_conn;  # Distributes traffic to the server with fewest active connections
    server 127.0.0.1:3000 weight=3;
    server 127.0.0.1:3001 weight=2;
    server 127.0.0.1:3002;
}

server {
    listen 80;
    server_name example.com;

    location / {
        proxy_pass http://app_servers;
        include proxy_params;
    }
}
The weight parameter allocates more traffic to specific servers. In this example, the first server receives three times the traffic of the third server. The least_conn method directs new requests to whichever backend currently has the fewest active connections, which works well for requests of similar complexity.
upstream app_servers {
    ip_hash;  # Routes the same client IP to the same backend server
    server 127.0.0.1:3000;
    server 127.0.0.1:3001;
    server 127.0.0.1:3002;
    keepalive 32;  # Keeps connections to backends alive for efficiency
}
The ip_hash method ensures a client always connects to the same backend server. This is necessary for applications that store session data locally on each server instance. If your application uses shared session storage, such as a database or Redis, you can use round-robin or least-conn load balancing without session affinity concerns.
For practical configuration examples showing different load balancing setups, the Nginx load balancing configuration guide provides working examples you can adapt.
Supporting WebSocket Connections Through the Proxy
WebSocket connections start as standard HTTP requests and are upgraded to persistent connections. Because WebSocket connections remain open indefinitely, the proxy configuration needs additional settings to handle them correctly.
location /ws/ {
    proxy_pass http://127.0.0.1:8080;
    proxy_http_version 1.1;
    proxy_set_header Upgrade $http_upgrade;
    proxy_set_header Connection "upgrade";
    proxy_set_header Host $host;
    proxy_set_header X-Real-IP $remote_addr;
    proxy_set_header X-Forwarded-For $proxy_add_x_forwarded_for;
    proxy_read_timeout 86400;
}
The Upgrade and Connection headers trigger the WebSocket upgrade handshake. The proxy_read_timeout value must be longer than the expected connection lifetime. If no data passes through the connection for this duration, Nginx closes it. For long-lived WebSocket connections, setting this to 86400 seconds (24 hours) or higher prevents premature disconnection.
One thing to keep in mind with WebSocket connections is that they maintain a persistent connection to a specific backend server. If you are using load balancing, the ip_hash method ensures the same client stays with the same backend, which helps maintain WebSocket session continuity.
Caching Backend Responses
Nginx can cache responses from your backend servers, reducing the load on your application and improving response times for frequently requested content. Caching is most effective for content that does not change frequently, such as product listings, documentation pages, or API responses with stable data.
proxy_cache_path /var/cache/nginx levels=1:2 keys_zone=app_cache:10m max_size=1g inactive=60m use_temp_path=off;

server {
    listen 80;
    server_name example.com;

    location / {
        proxy_pass http://127.0.0.1:3000;
        include proxy_params;
        proxy_cache app_cache;
        proxy_cache_valid 200 60m;
        proxy_cache_valid 404 1m;
        proxy_cache_use_stale error timeout http_500 http_502 http_503 http_504;
        add_header X-Cache-Status $upstream_cache_status;
    }
}
The proxy_cache_path directive defines where cached responses are stored and how much disk space they can use. The keys_zone parameter names the cache and allocates memory for tracking cached items. The inactive parameter specifies how long an entry can sit in cache without being accessed before Nginx removes it, regardless of its max-age header.
The X-Cache-Status header is particularly useful during development and troubleshooting. It shows whether a response was served from cache (HIT), fetched from the backend (MISS), or was a stale response used while the backend was unavailable (STALE). This visibility helps you verify that caching is working as expected.
Practical note: Cache invalidation requires careful planning. If your application serves personalised or frequently updated content, aggressive caching can serve stale data to users. Test your caching configuration thoroughly before deploying to production.
Protecting Backends with Rate Limiting
Nginx provides rate limiting based on client IP address, which helps protect your backend services from excessive requests. This is useful for APIs, login endpoints, and any endpoint that might be targeted by abusive traffic or runaway scripts.
limit_req_zone $binary_remote_addr zone=api_limit:10m rate=10r/s;

server {
    location /api/ {
        proxy_pass http://127.0.0.1:9000;
        include proxy_params;
        limit_req zone=api_limit burst=20 nodelay;
    }
}
This configuration limits API requests to 10 per second per IP address, with a burst allowance of 20. When a client exceeds the burst, Nginx returns 503 Service Unavailable. The nodelay parameter processes the burst immediately rather than queuing requests, which is appropriate for APIs where responsiveness matters more than strict ordering.
Adjust the rate and burst values based on your application's capacity and expected usage patterns. Rate limits that are too strict will block legitimate users, while limits that are too loose provide insufficient protection. Monitor your logs after deployment to fine-tune these values for your actual traffic patterns.
Logging and Troubleshooting Proxy Configurations
Effective logging helps you diagnose issues when your reverse proxy is not behaving as expected. Nginx provides two key log files: the access log records every request, and the error log records issues encountered during request processing.
For access logging, you can customise what information is recorded:
log_format proxy_log '$remote_addr - $remote_user [$time_local] '
    '"$request" $status $body_bytes_sent '
    '"$http_referer" "$http_user_agent" '
    'upstream: $upstream_addr upstream_status: $upstream_status';

access_log /var/log/nginx/proxy_access.log proxy_log;
error_log /var/log/nginx/proxy_error.log warn;
The $upstream_addr and $upstream_status variables are particularly useful when load balancing across multiple backends. They tell you which backend handled each request and what response status it returned.
When troubleshooting, check the error log first. Common issues include backend servers being unreachable, SSL certificate mismatches, and header forwarding problems causing redirect loops or missing client information. Running Nginx configuration syntax check before reloading helps catch syntax errors:
nginx -tThis command validates your configuration files and reports any errors before Nginx attempts to reload. Always test configuration changes this way before applying them to a running server.
Security Considerations for Reverse Proxy Deployments
When configuring Nginx as a reverse proxy, there are several security practices worth considering. Hiding internal server details reduces the information available to potential attackers. Your proxy configuration should avoid passing sensitive headers that might reveal backend architecture.
Restrict access to internal management interfaces. The example shown earlier with allow and deny directives restricts the admin panel to a trusted network range. For production environments, consider additional authentication layers such as VPN access or mutual TLS authentication between the proxy and backends.
Keep Nginx updated. Like any software, Nginx releases security patches that address discovered vulnerabilities. Subscribing to the Nginx security advisories or using your system's package manager to apply updates helps keep your proxy secure.
Reminder: No single configuration guarantees complete security. Security depends on your full setup, regular maintenance, access control, monitoring, and following security best practices for your specific application architecture.
Performance Factors Worth Considering
Beyond basic configuration, a few performance considerations can make a meaningful difference in how your reverse proxy handles traffic. Connection keepalive between Nginx and your backends reduces the overhead of establishing new connections for each request. The keepalive directive in your upstream block enables this.
Buffering affects how Nginx handles responses from your backends. By default, Nginx buffers responses before sending them to clients, which can free your backend to handle other requests quickly. However, for long-lived connections like WebSockets or streaming responses, disabling buffering with proxy_buffering off allows data to flow directly to clients without the intermediary buffer.
Gzip compression reduces bandwidth usage for text-based responses, though this is typically handled more efficiently at a CDN layer for public websites. If you are serving API responses or internal applications, enabling compression in Nginx can reduce transfer times.
When to Consider Professional Help
If you are running production services that require high availability, complex routing rules, or integration with existing infrastructure, a professional review of your Nginx configuration can identify issues before they cause downtime. This is particularly worth considering when scaling beyond a single backend server, implementing WebSocket services, or handling sensitive data.
Preparing details about your current setup, traffic patterns, and any specific requirements before discussing your situation helps make any technical review more productive. Knowing your peak traffic volumes, which services need to be reachable, and any compliance requirements gives a clearer picture of what the configuration needs to achieve.
Putting It All Together
Configuring Nginx as a reverse proxy gives you a flexible foundation for routing traffic, terminating SSL, distributing load, and protecting your backend services. The configuration examples in this guide cover the most common scenarios you will encounter when setting up a reverse proxy for web applications.
Start with the basic proxy_pass configuration and add features progressively. Get routing working first, then add SSL, then load balancing if you need it. Test each addition before moving to the next, and keep notes on what you changed and why.
Keep your configuration files organised, document non-standard settings, and maintain a record of your working configurations. This makes troubleshooting easier and reduces risk when you need to make changes later. A well-documented configuration is easier to handover, easier to audit, and easier to fix when something goes wrong.